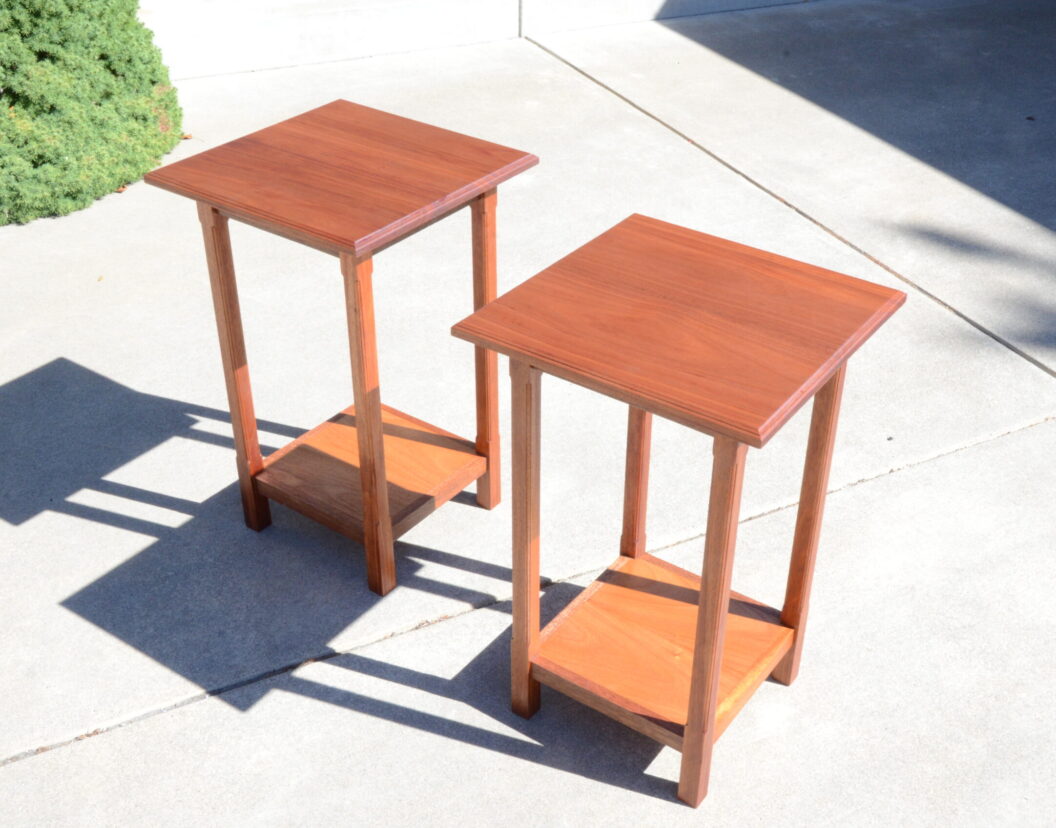
I’m old and slow but not so slow to miss when I’m being hustled. “She Who Must Be Obeyed” decided that the yard-sale table that graced our front room for eons needed to be replaced…with mahogany versions. She thinks I don’t know that this table has been the host for a porcelain Santa for the last few years leaving me to deduce we will soon (like October soon) have two Santas in the front room. While I may have broken the code for this, it doesn’t mean I can ignore the order. Off to the shop with some dead trees!

My internet woodworking friend David from Idaho introduced me to the Jessem doweling jig when I was researching a replacement for my cheap Chinese jig. True to form, Jessem took a bunch of my money and even more time to send me the jigs but they truly are the ticket to accurate doweling work. I had done some work with them a month or so ago on another project, so I was not a novice with them but this was the first glue-up with flats for the top and bottom panels. The design also required 1-1/2 square legs which was not a dimension of raw stock available to me.
So…using a center finder and the jigs, I was was able to make some panels and the legs that should last a few weeks before they come apart. I also used Titebond III to avoid the black glue line epoxy gives you. Following the advice of “731 Woodworks“, Matt tells us “face to face” for using the jigs; meaning that the face of the jig goes to the face of the piece regardless of the center-line. Turns out this is the ticket. I failed to follow this twice and was off enough to require a bit of sanding but otherwise all the joints came out. The indexing pin that is part of the jig really speeds up the process.
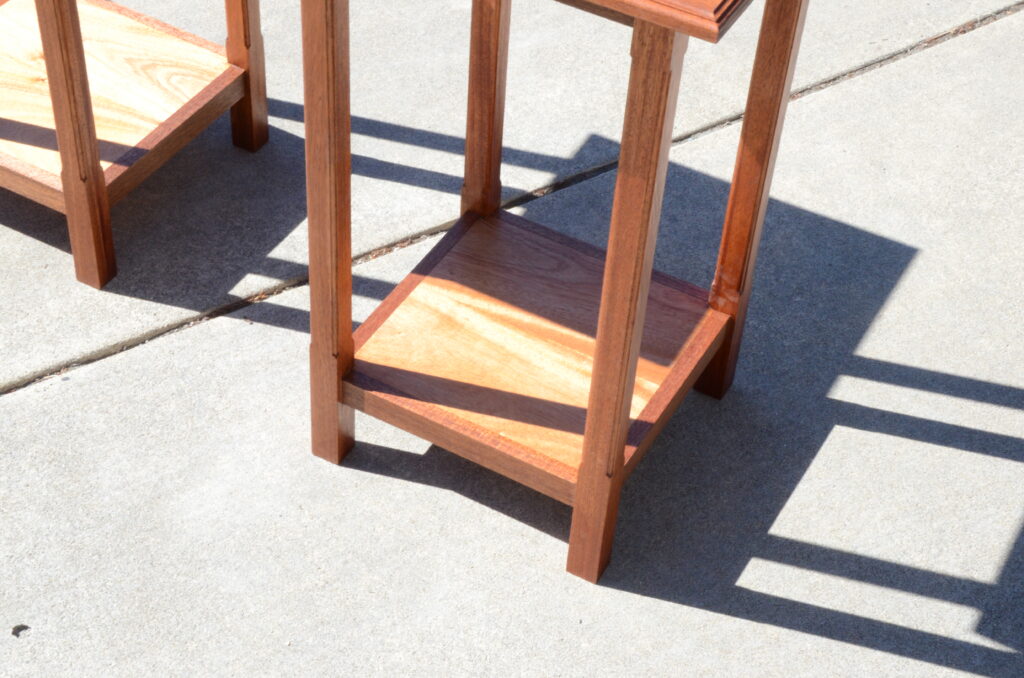
I also used dowels for the joinery with some moderate clamping. I usually use screws so this made me a bit nervous given the investment in wood but I think the joints are much stronger and the piece feels more solid to me. Regardless, the only screws used were pocket holes to put the tops on. Compared to the precision of the Jessem jigs, the Kregg pocket hole jig is a ragged mess. Since I’m the only one who looks at the underside of the tables, all is good.

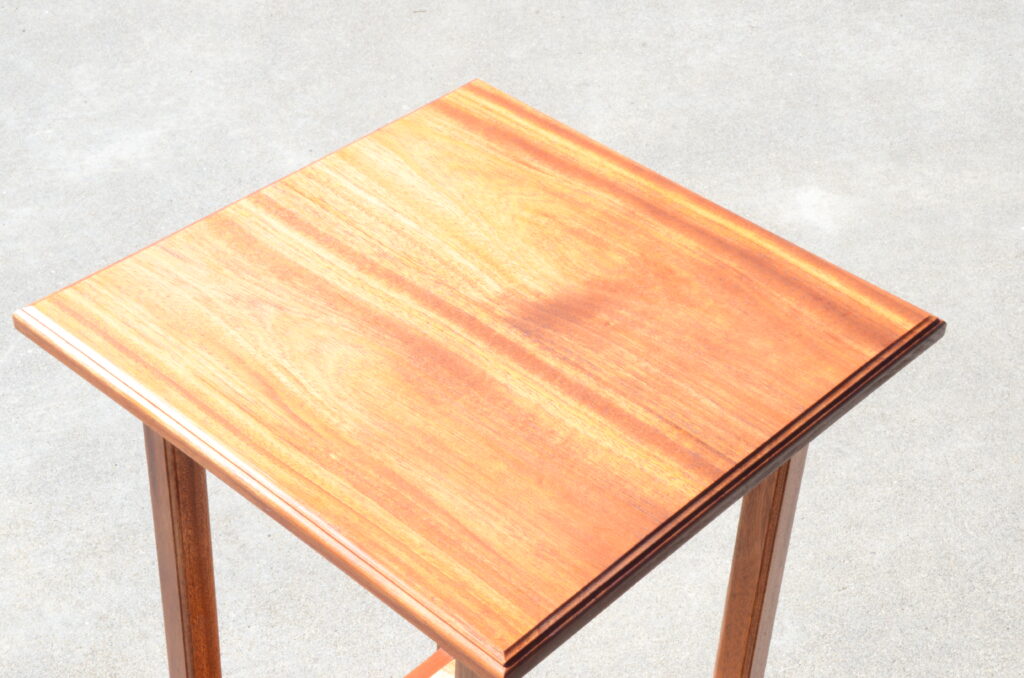
The legs got a bit of edging to provide some definition. Then, everything was re-sanded out to 220 before sealing with a 75/25 tung oil and mineral spirits split. Mahogany end grain soaks this up and it also highlights the patterns in the grain. After three days to dry, I re-sanded everything and took the tops out to 600 before adding five coats of Old Masters tung oil varnish. I’ve used other finishes on mahogany but Old Masters is my favorite. It’s an “in the wood” finish that really highlights the grain, brings out the chatoyance, and it goes on well.
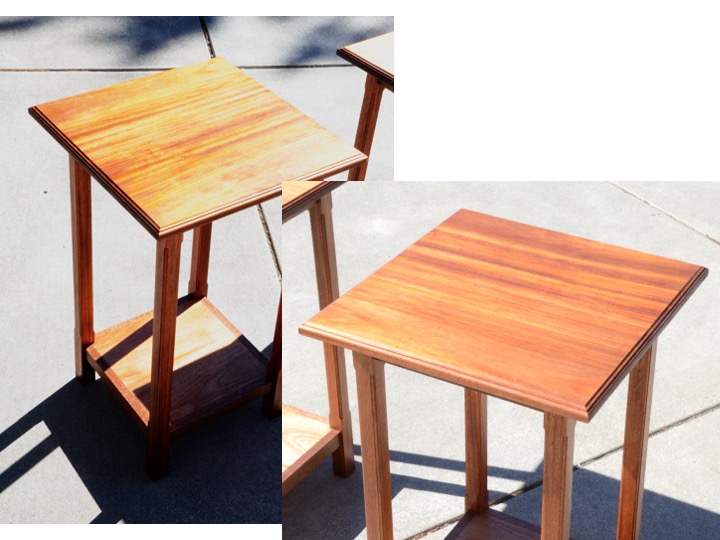
These pictures were taken when the tables were just completed. When the finish cures in a week, I’ll take the tops out to 800 and put on one more light coat of varnish to give it some gloss. Her Ladyship was right pleased with the new firewood and the yard sale piece has been banished to the the thrift store (I hope). No one needs a third Santa table.