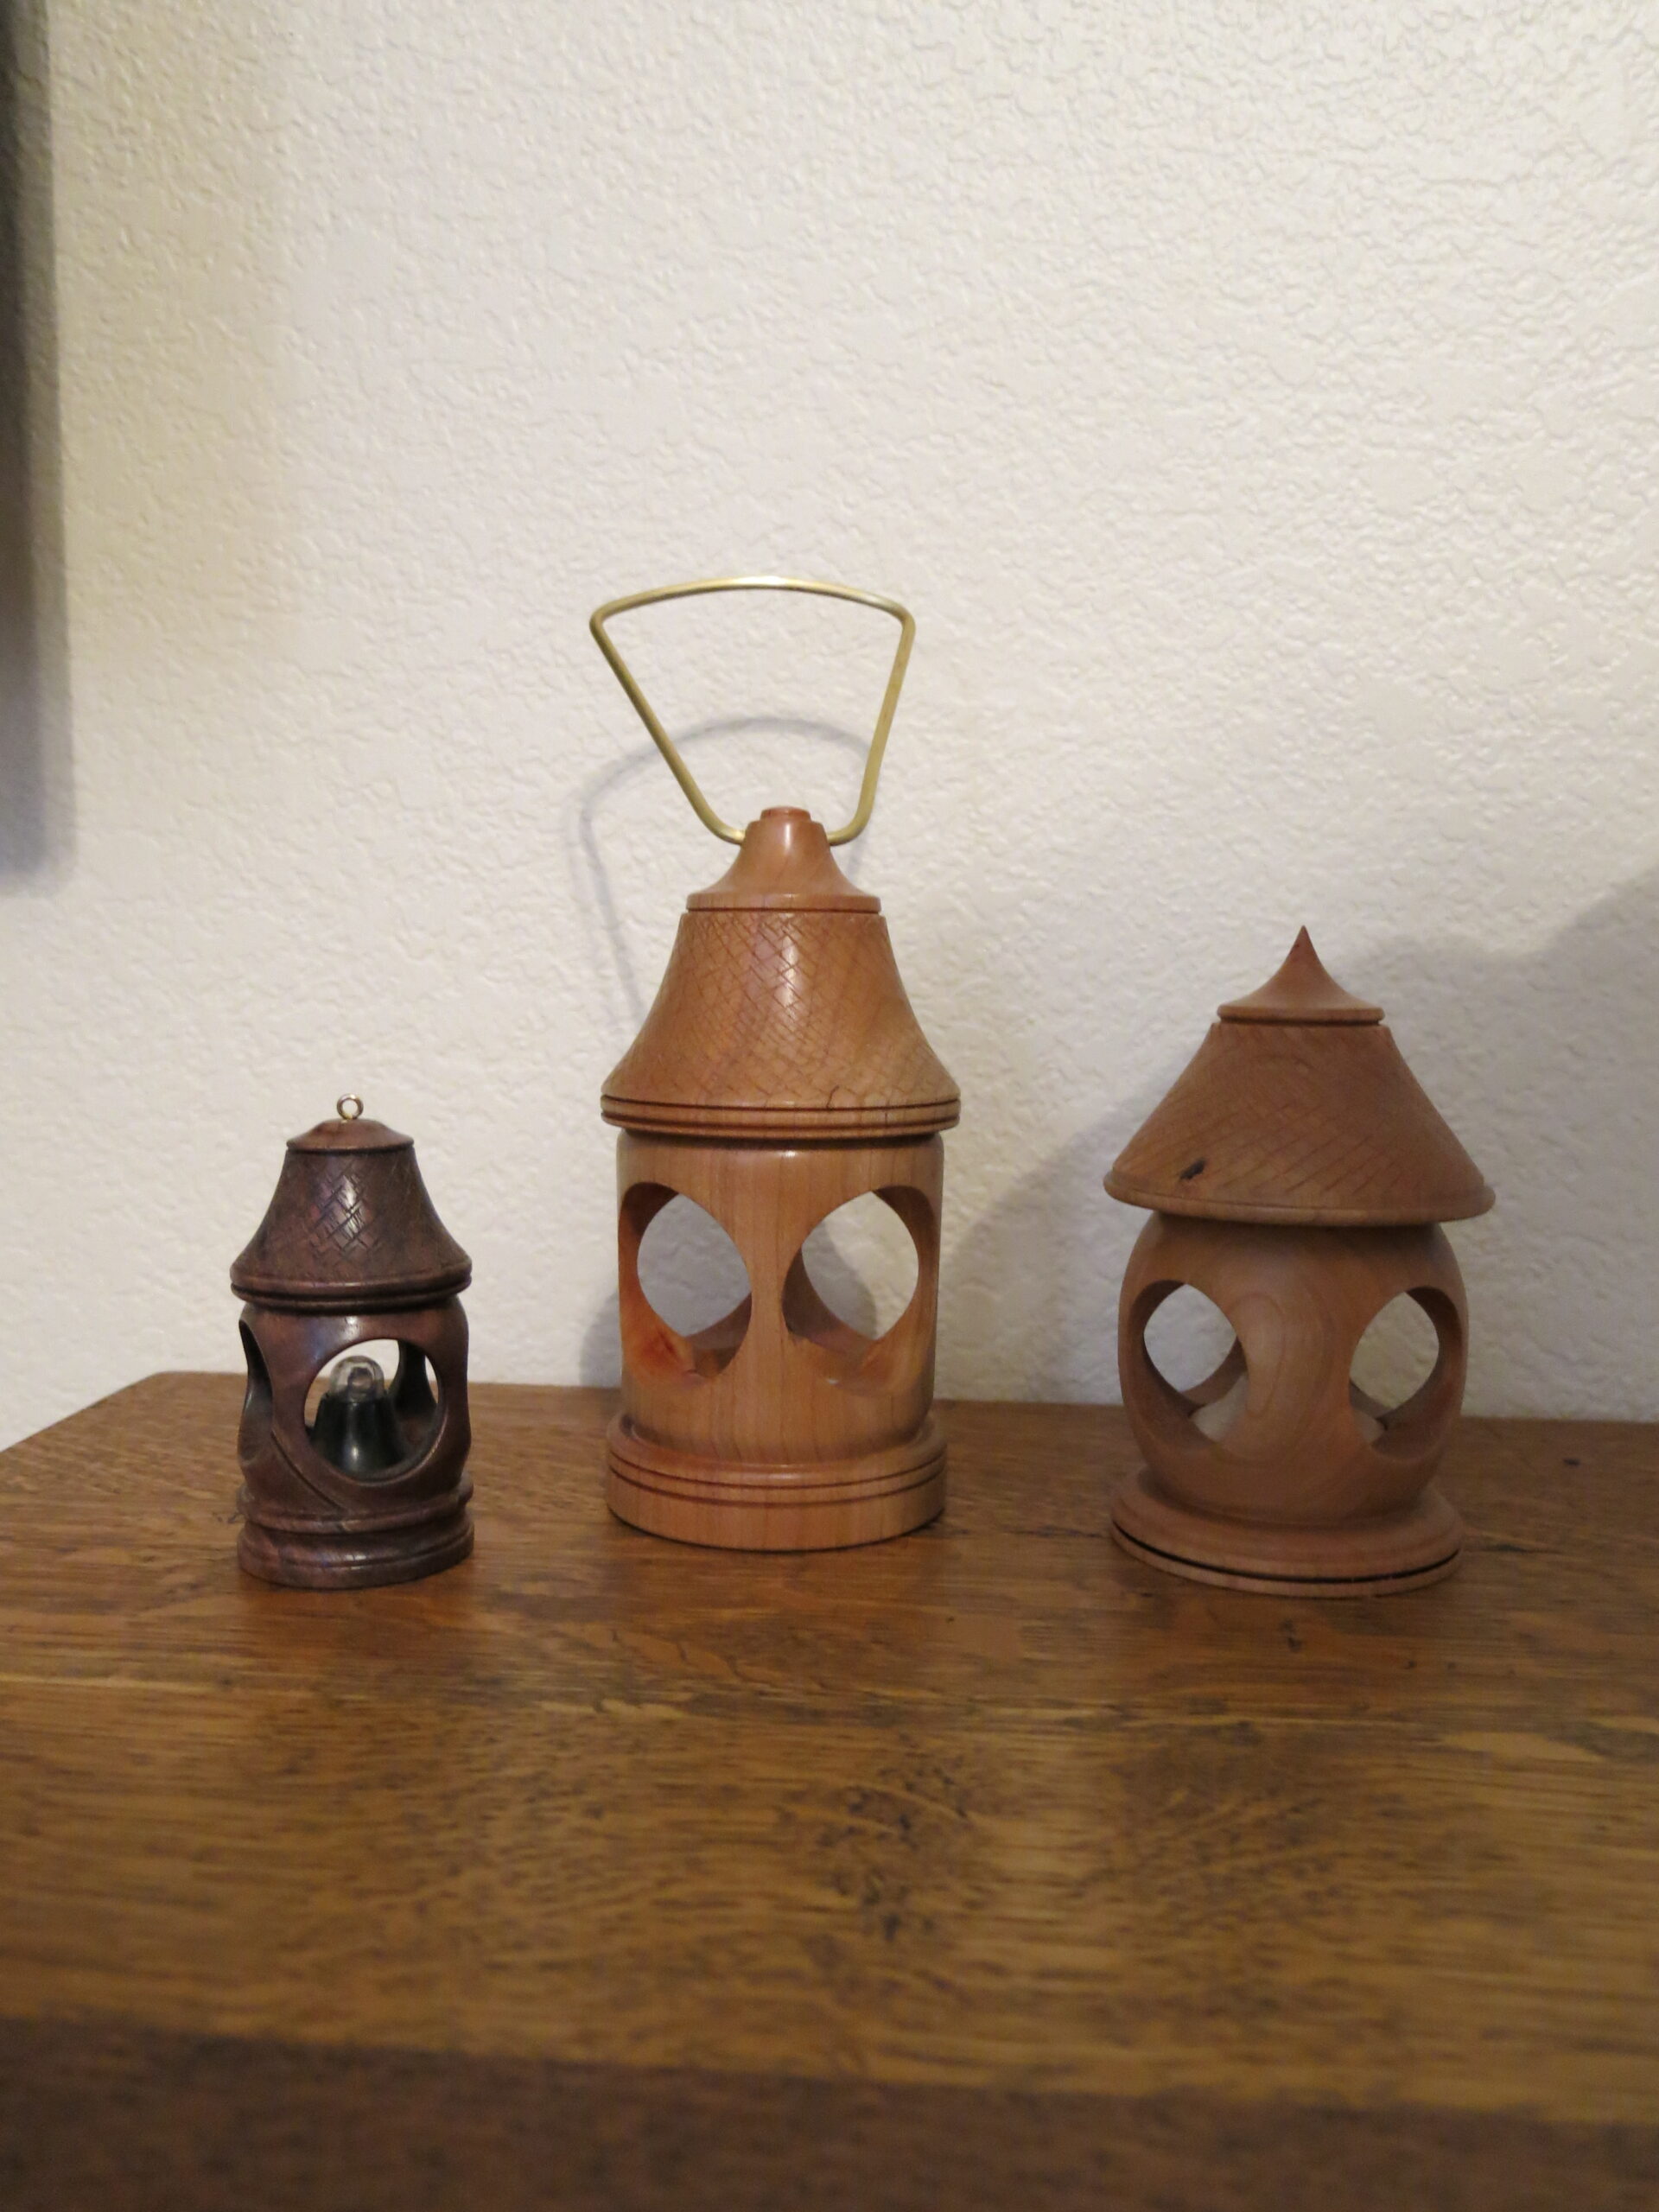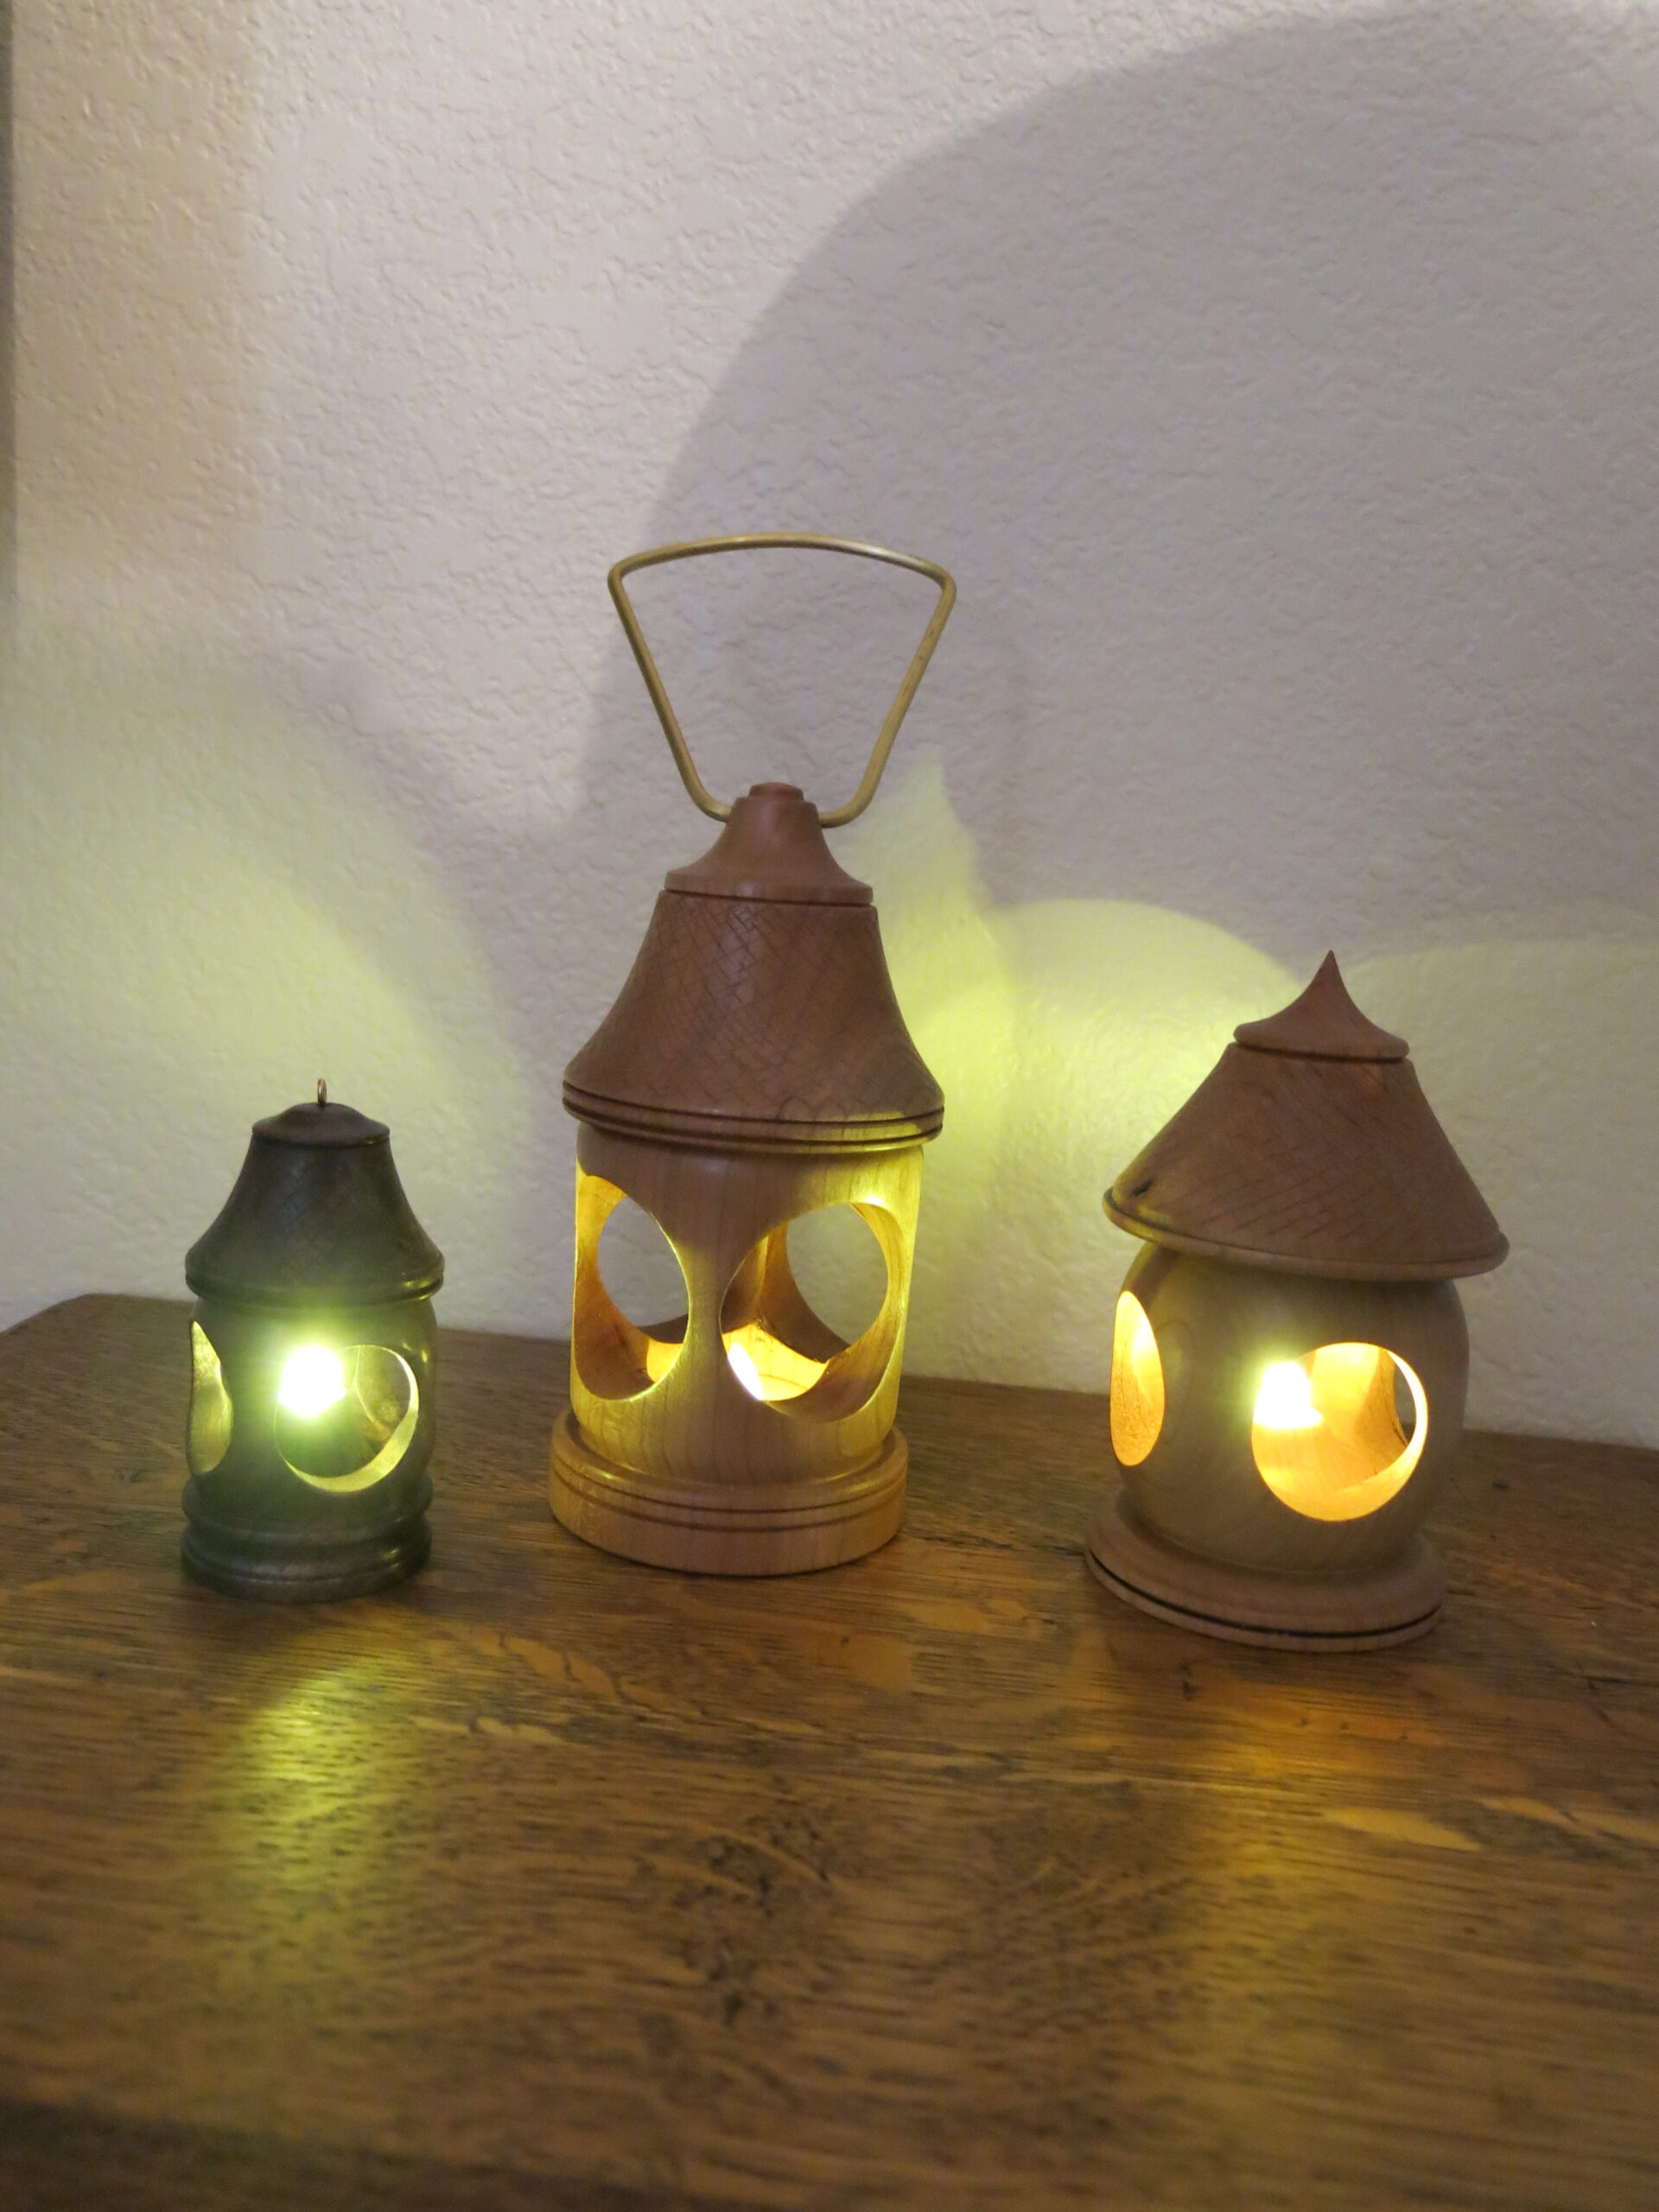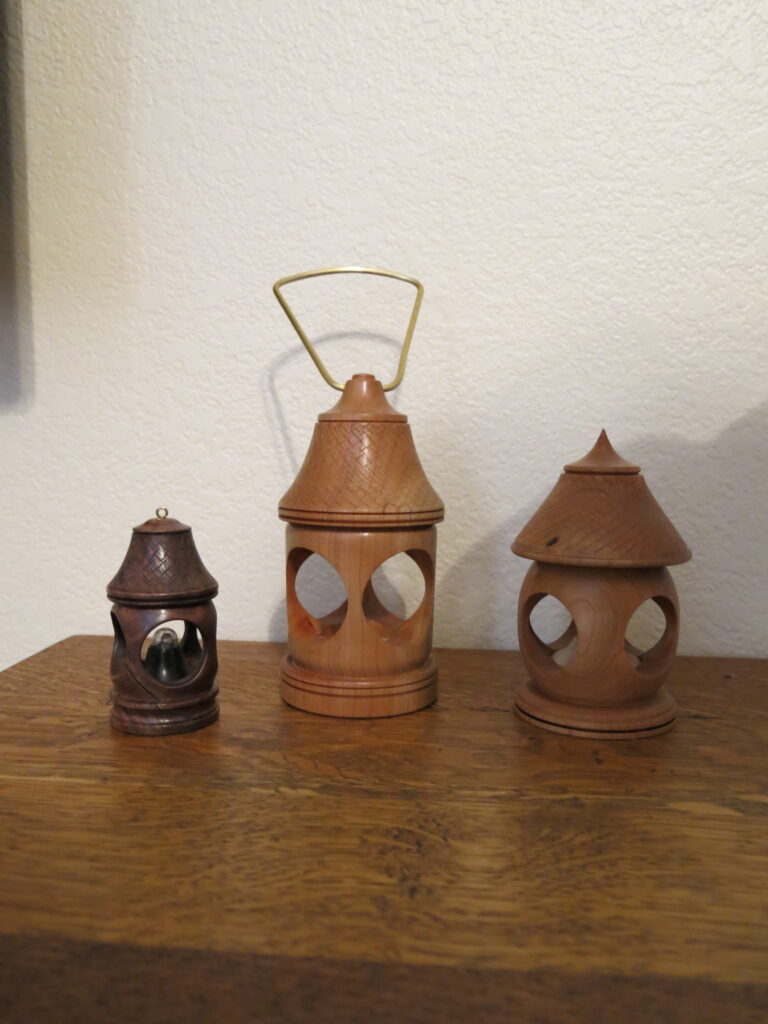
I learned (ok, maybe not “learned”) how to make these after watching some videos for ornaments. The ones shown at the beginning are prototypes for the design I want. The idea is to have them small enough to hang on tree or sit on a shelf. They have battery powered tea lights or lantern lights in them. The lights come in many colors and some come with a remote. Amazon is your friend here.
To do these, you have to start with a squared piece of stock, drill the side holes at the same point on all four sides with a Forstner bit and then rough shape the top end to fit in your chuck, leaving enough stock to work with. Once chucked up, DO NOT take it off until you’re done. Don’t ask how I know this.
Drill out the center hole from the bottom all the way to the top of the lantern space (just below the roof line). You can make this exact to fit the tea light or a little over size and make a plug to fit the base when you’re done. Then put your live center tailstock into the hole and turn the lantern window space. The symmetry of this space sets the stage for the other parts. You need sharp tools for this and go slow. I like to make them just a bit round on the top and bottom windows to follow the curve of the holes. Unlike these prototypes, the top of the windows space should be about even with the bottom of the roof. Cut too much off and you’ll wind up with a weird shape like the one on the right. Once you get the windows shaped well, cut the base shape and lastly the roof.
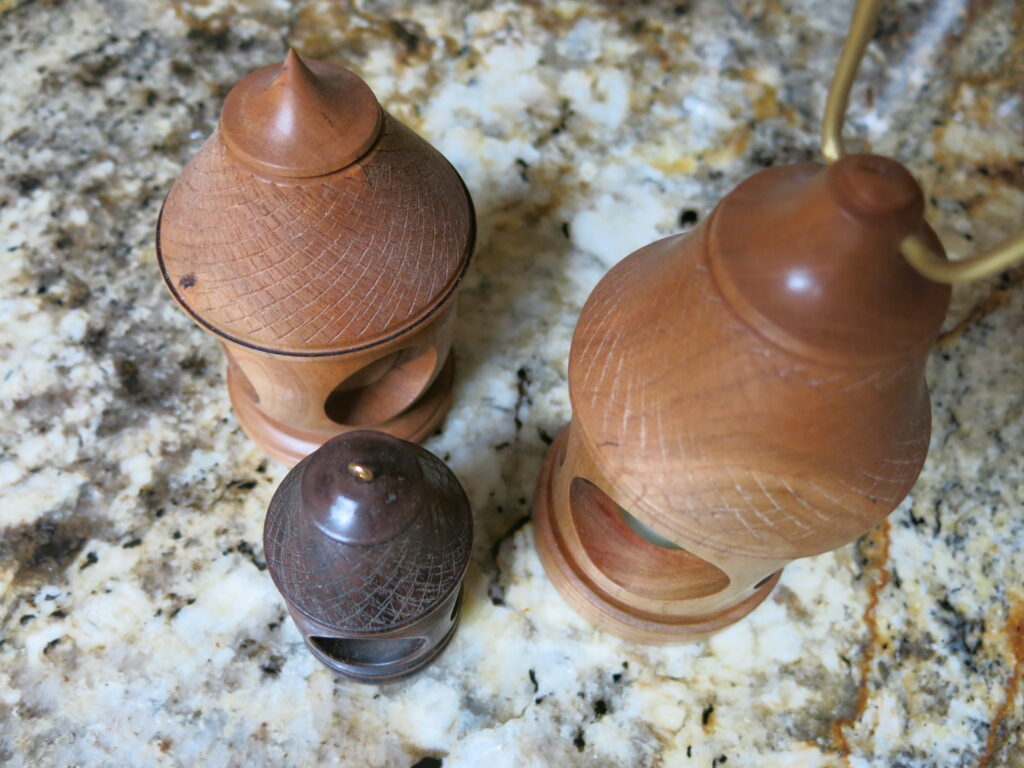
I bought a Sorbey texturing tool to add the “shingles” to the roof and although this tool is stupid expensive, it works very well. Leave a bit of extra stock on the roof top and bottom edge, texture the middle portion, and then cut the edges to smooth out the shape. This leaves the shingle area separated by smooth wood. Once the roof is done, I part this off, and start hand sanding.
The window holes are a pain but sanding here really sets off the piece. If you don’t spend the time on this area, you’ll wish you had later, especially if you use good stock. Once the small parts are done, you can put it back on the lathe with expanding jaws to do the larger areas, making sure you don’t sand off your shingles. These are finished with oil and wax to bring out the grain but you can use any finish. Know that if you spray a finish on these, the little windows will create problems.

The lights are mounted with hot glue or a rubber “O” ring so I can remove them when needed. The small ones have a tiny switch on the bottom that you can shape to make it easier to conceal. Smart move is to buy (and test) the lights first. Otherwise you run the risk of your “one inch” light actually being a bit oversize (because China) and re-cutting that bottom hole when the piece has been taken of the chuck is almost impossible. Not that I know anything about that.
I’ll be doing some more of these out of curly maple and some claro walnut and I’ll try to take some pictures of the process I use.