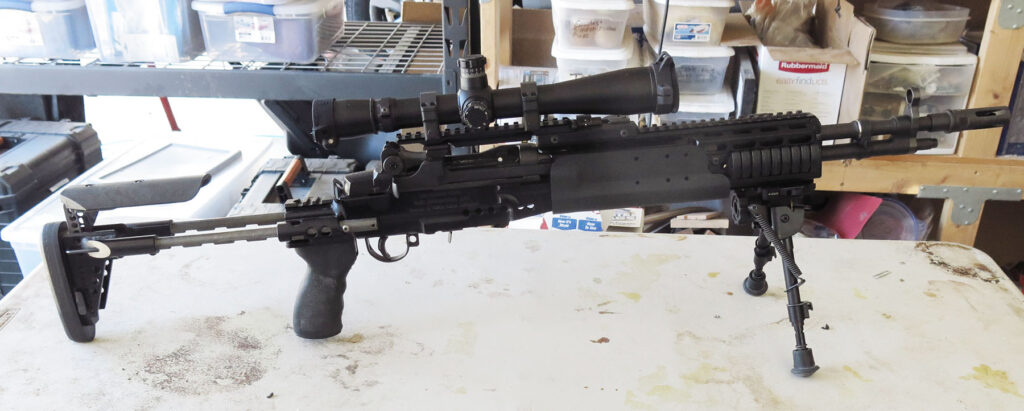
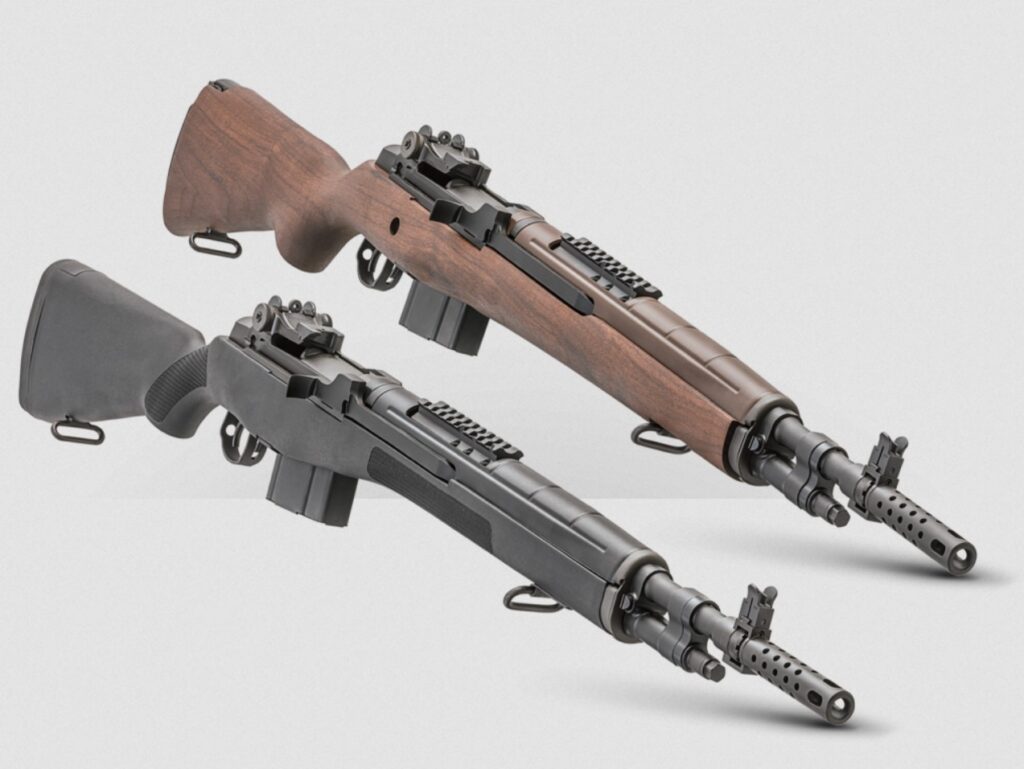
I’ve built a few of these back in the day but this one was my favorite. I got it into my mind that I was going to go pig hunting in Texas. So…I bought a Springfield Armory M1A Scout Squad that had been neglected. This platform takes the regular parts the full size M1A uses but has a shorter barrel. The original plastic stock was pretty beat up and the top rail had a chunk missing out of it. Oddly, the action was smooth and the barrel was bright and shiny. Off to the races.
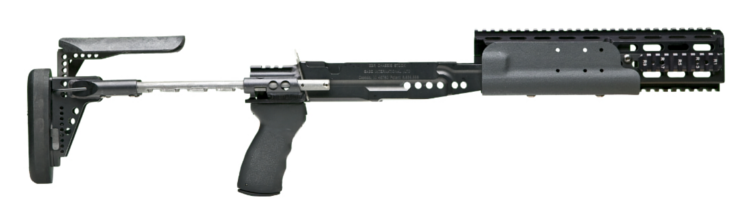
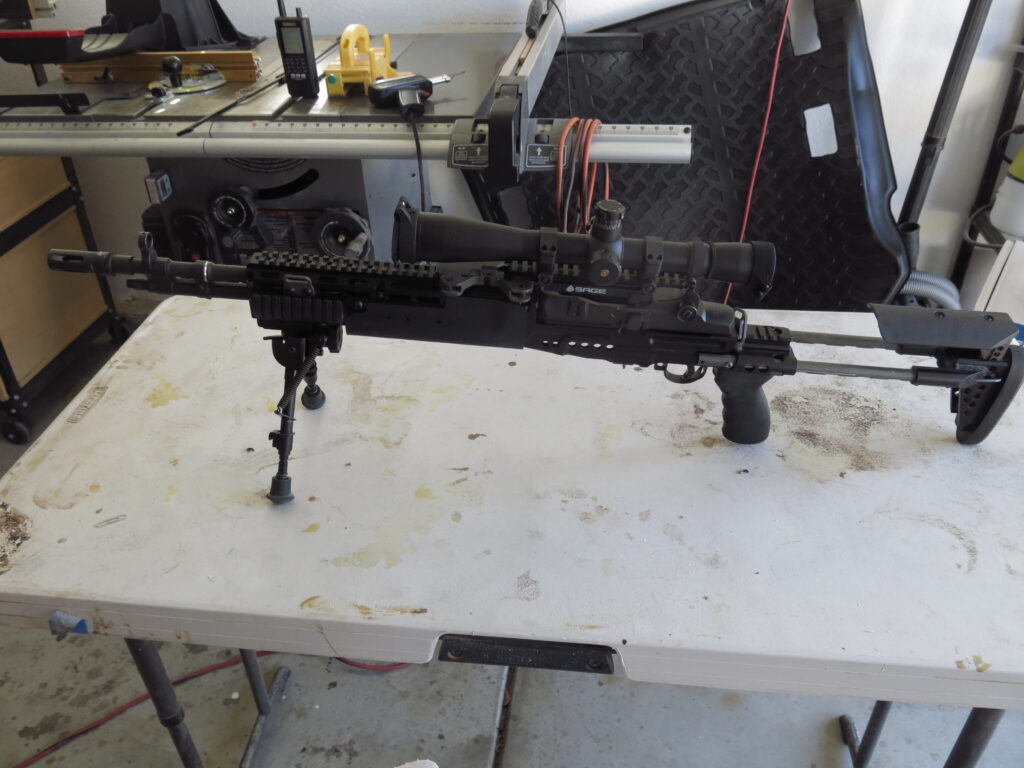
I’ve always been enamored with the Sage chassis despite it’s drawbacks and heft but this build would accept no other. I ordered the chassis with the correct block and then tore down the rifle. Alas, all was not good; the op rod had some odd wear, the piston was mushroomed on the bottom and the rear sight was a rusty mess inside. I bought new parts from Fulton Armory along with a gas block sight from Smith Enterprises, a large bolt release lever, and Surefire flash hider.
When the parts came in, I started the build. If you’ve never done a Sage install, it’s not a simple process. U.S. Army TACOM has a great publication that goes through it step by step. I did my first one with just the Sage instructions but the TACOM pub explains why you’re doing things. Make sure you have the correct op-rod block for your barrel. These are getting harder to come by but you can’t guess on these. A rubber mallet and some PVC pipe got the op-rod block on correctly and the rest is just screws. But…the Sage has three different size threads on the chassis, so I re-threaded the block screws, top rail, and plastic cap for 1/4-28 all around. One less tool in the maintenance kit.
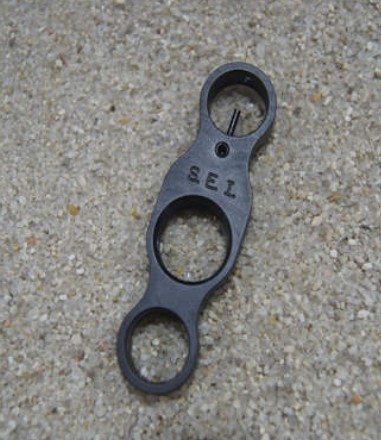
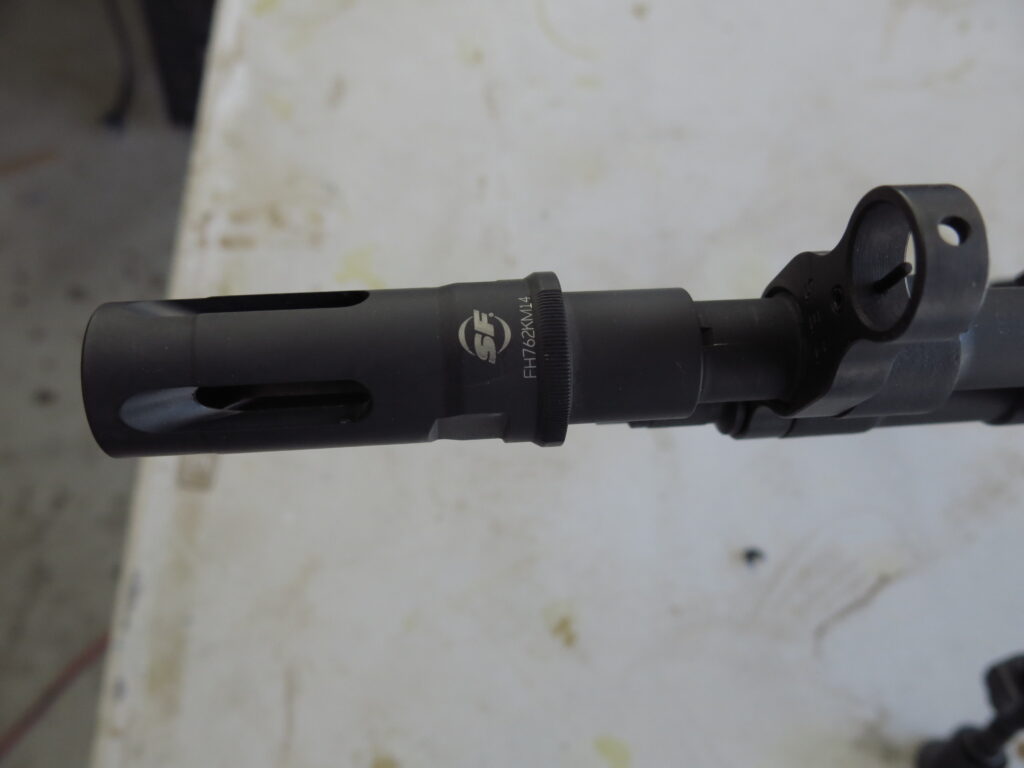
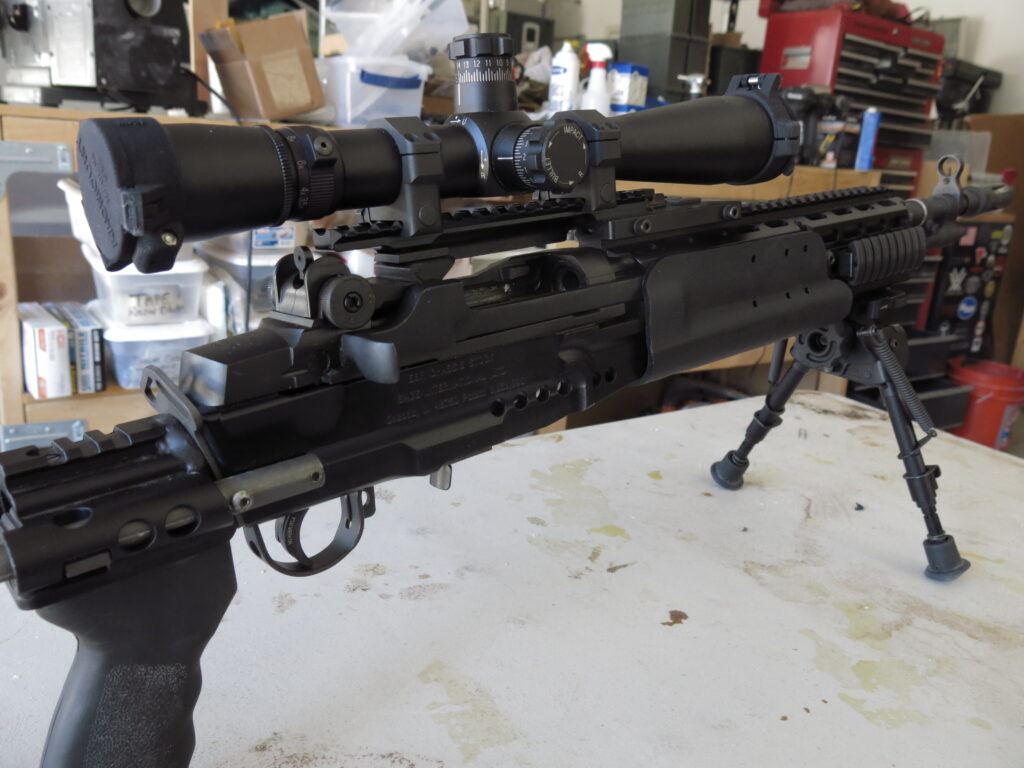
While I realize the HK style hooded sight is not the best for field work and M1A purists will have a fit about it, it is a sexy beast. On it went followed by a Surefire flash hider. It took several weeks to find this part as it is no longer in production. Of course I paid a stupid amount of cash for it but it was worth it. The part has to be indexed to the barrel with shims and then the shims are set with Rocktight. The Surefire suppressor this mount is for has been superseded by just about anything new in the suppressor world so if you intend to shoot suppressed, this is probably not the adapter you want to go with. I sourced the hider and Surefire was kind enough to sell me the shim packs.
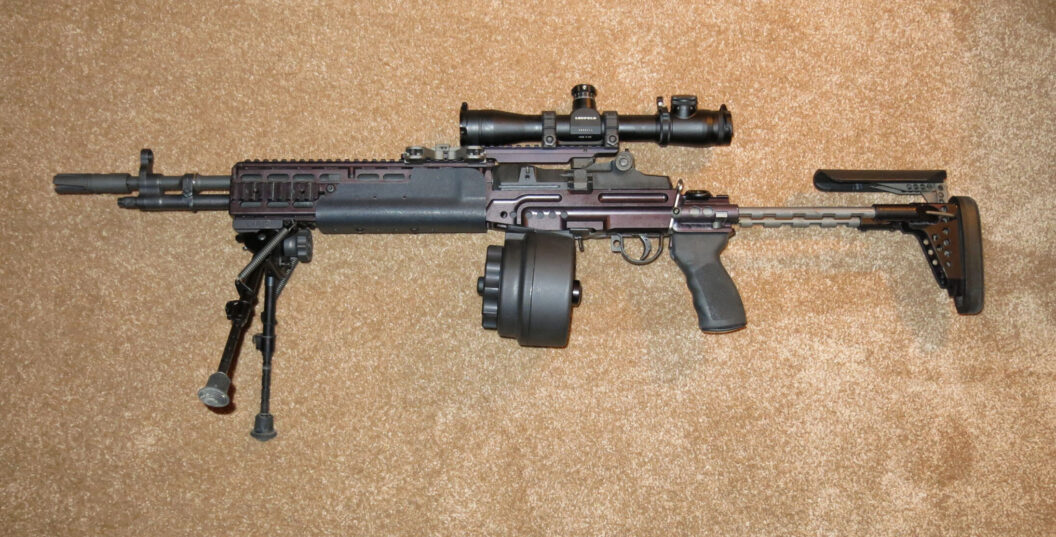
I used Fulton parts to rebuild the rear sight. Nothing special here but quality guts. For this short sight radius, I used the largest aperture I could find and then drilled it out a bit more equal to an M4 large aperture. A little bit of Brownells Zinc Phosphate treatment brings the finish back. I used Badger rings to mount the Leupold MK4 3.5-10 scope. Heavy steel is not your friend for light weight rifles but it’s no slacker either.
I went back and forth on the mount. First off, the Sage stripper clip pic mount is NOT/NOT a good solution for repeatability. Next up was the SAGE cantilever mount which is heavy (and expensive) but offers no flex once installed correctly. I also tried a “diving board” from LaRue Tactical but this visibly had too much flex regardless of how the rear screw is set. 10 rounds and it needs adjustment; too much and it shoot stupidly low. LaRue makes no claim that this is the correct part so totally my problem. Ended up back with the Sage parts, knowing that the “quick release” is not for taking the scope off and on frequently. Once you mount and zero, leave it alone.
Off to the range. Battle sight zero with irons at 50 yards. One, two, three, rounds to get to the X ring then a mag to make sure it sticks. The scope was another matter. Mounted and torqued correctly, I had to start at 25 yards to walk the zero up. It seemed like there was not going to be enough elevation to get it done. Checked and rechecked the mount but eventually it was stable at 50 yards. It all has to do with getting the base clamp torqued correctly and then the tension screw above the stripper clip base. Were I to build another one of these, I’d skip the scope and just go with a red dot or a patrol optic. Once on the 400 yard range it was clear why the reticle was essentially at the top of the scope: I needed that elevation to range out with this short barrel. I was able to get a little less than 1.5″ at 100 yards with ball ammo, and hits all the way out to 400 with 174 grain. For a short barreled M1A, I was impressed. I wasn’t going to Camp Perry with it but it would kill some pigs. And, it’s not a walking gun. It weighed in at 11.7 lbs without ammo and bipod.
Then life happened. I had a surgery and spent months getting back to where I could walk. Humping the Pig Gun with ammo was not in my future. We went to the range a few times but it just wasn’t going to happen. So off to Gun Broker where I took a beating. A big beating. Some days I wish I’d kept it; it was fun and a great conversation starter. Realistically, it was impractical for longer ranges and too heavy to hunt with. But then, you knew that.