This is an easy project with only a few steps. OCD may not be your friend here but I guarantee that a little extra effort will set your snowpeeps out from the pack.
I bought a bunch of maple from a baseball bat manufacturer. These are seconds, so they are not completely round and the grain differs from piece to piece. For these, I used the straight grain but of course, you can use anything you want.
The first step is to round up the stock. If you’re using figured wood or something mostly clear like holly, then pick an end to put in the chuck. The fattest part of the snowpeep goes on the chuck side. I turn between centers anytime I can and these potential missiles are no exception. Get your stock trued up and then I use a pencil to divide the stock in three sections, the head being the smallest. I measure the width of the stock first then mark off the waist cut a little less than the diameter of the stock and the neck cut 1/3 of the diameter. This will give you pretty general proportions. These are not circle or ball shaped and if you make a true sphere shape, it will not only look odd but it’s hard to fix. Best to start off with a semi round head, a squashed middle and a semi round bottom. Turn the head first because if you mess that up, you can easily start over. Prepare to part off the bottom by undercutting down to about an inch.
Once I get the basic shape cut, I start sanding. All the way up to 320 on this because it’s good wood. When the tool marks are gone, I use an oil/wax grit to highlight the grain, followed by friction polish. When it’s dry, part it off the lathe making sure you keep the undercut.
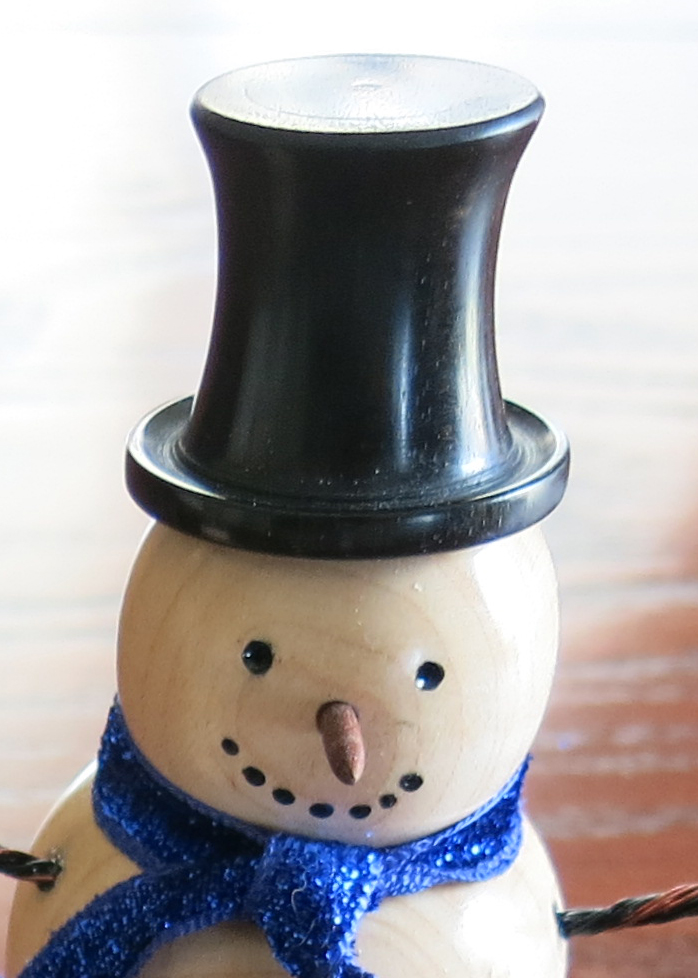
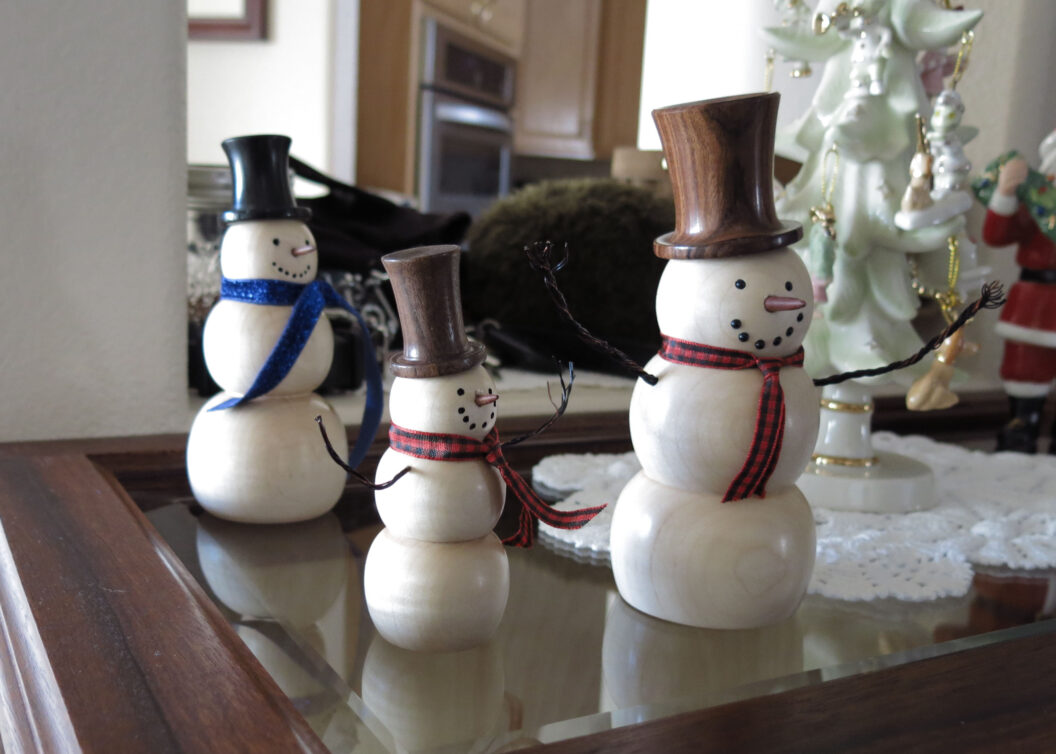
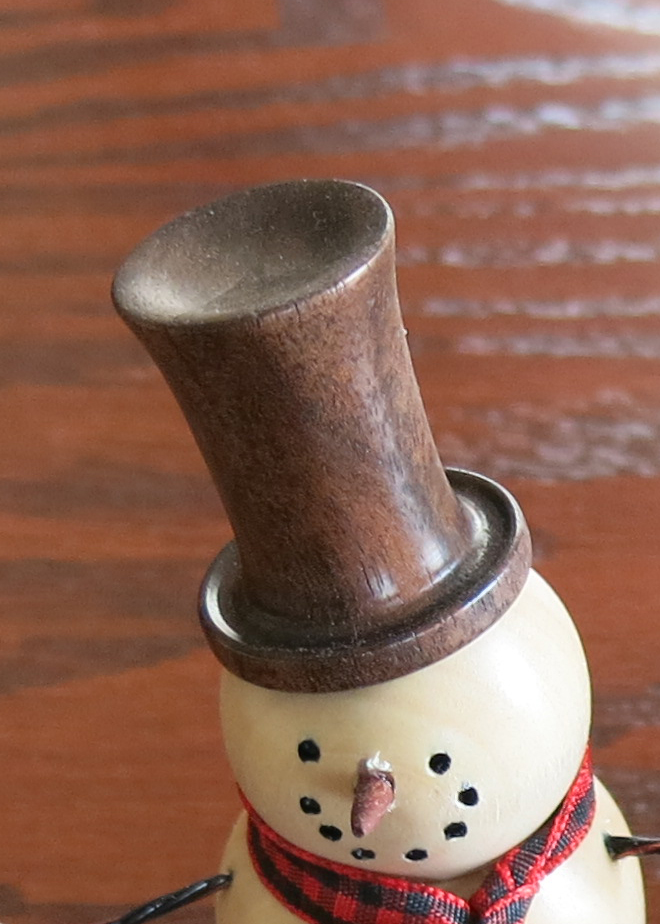
Set the body aside while you do the hat. If you turn a lot, you wind up with all these leftover knobs from other projects that aren’t good for much. But…they do make nice hats. I have a lot of nice figured knobs and so they get the full treatment here. I chuck up the stock, round it out and start from the top of the hat down to the brim. I like the “doctor Seuss” look, so the top is as wide as the brim and narrows in the middle. I cut a little dish in the top since this is a part most people will see and it highlights the grain of whatever you’re using. The brim is cut with a detail tip on the top side, and then curved under into the bottom side. I undercut the brim to make sure it will fit on the heads. You want it so the head looks like it’s inside the hat, not have the hat sit on top of a ball. Sand and polish. Since I’m using exotics most of the time, I spend a little extra effort to make these look good. (On these two, the large one is wearing Madagascar ebony and the small one is wearing 100 year old claro walnut.) I started to get a bit fancier on the bigger ones by burning lines in with guitar string or texturing a hat band. Words of warning: If you’re using ebony, keep your tools clean. It’s easy to spread a little ebony dust in your carefully cut holly snow person and thus turn it grey. And who wants a grey snowpeep?
Part off the hat with an undercut or…cut the underside down to less than 1/4 inch and make a small dowel pin before you part it off. I use a vertical sander to cut a flat spot on the snowman head and then drill a 1/4 hole in the head for the hat pin to fit into. Make the flat spot at an angle so the hat sits at a bit of an angle.
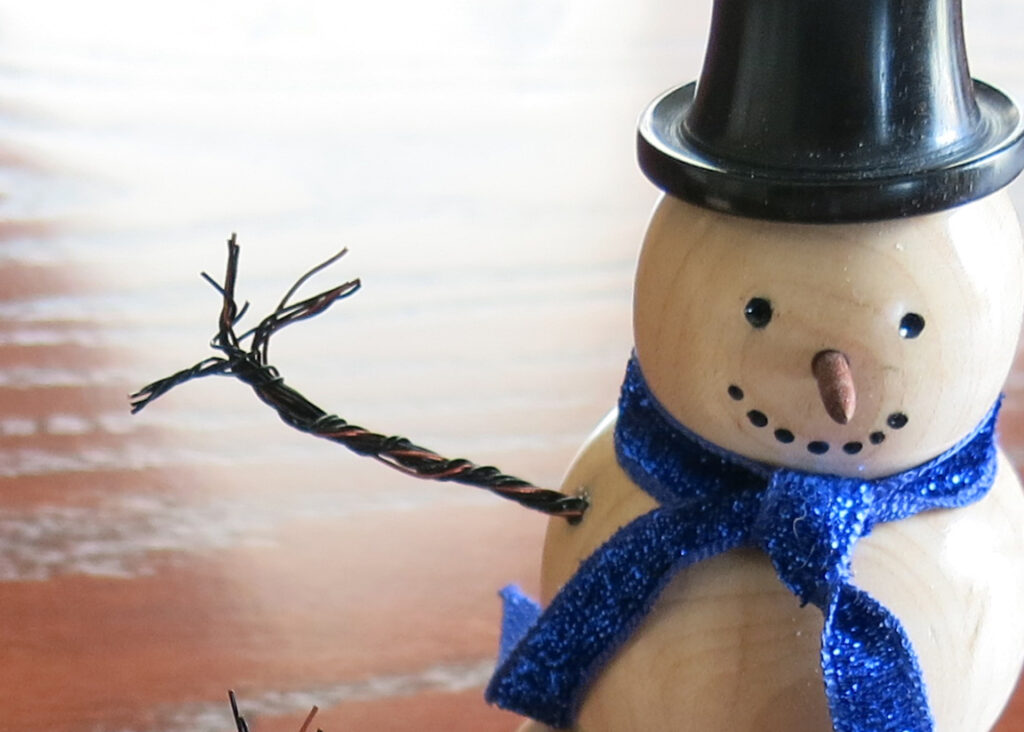
The nose is made from scrap cocobolo or eucalyptus that is naturally orange. I tried some birch and maple with orange dies but it looked odd, so nature knows best. Make the nose long enough so you have some extra to glue into the hole of the snowdude/dudette.
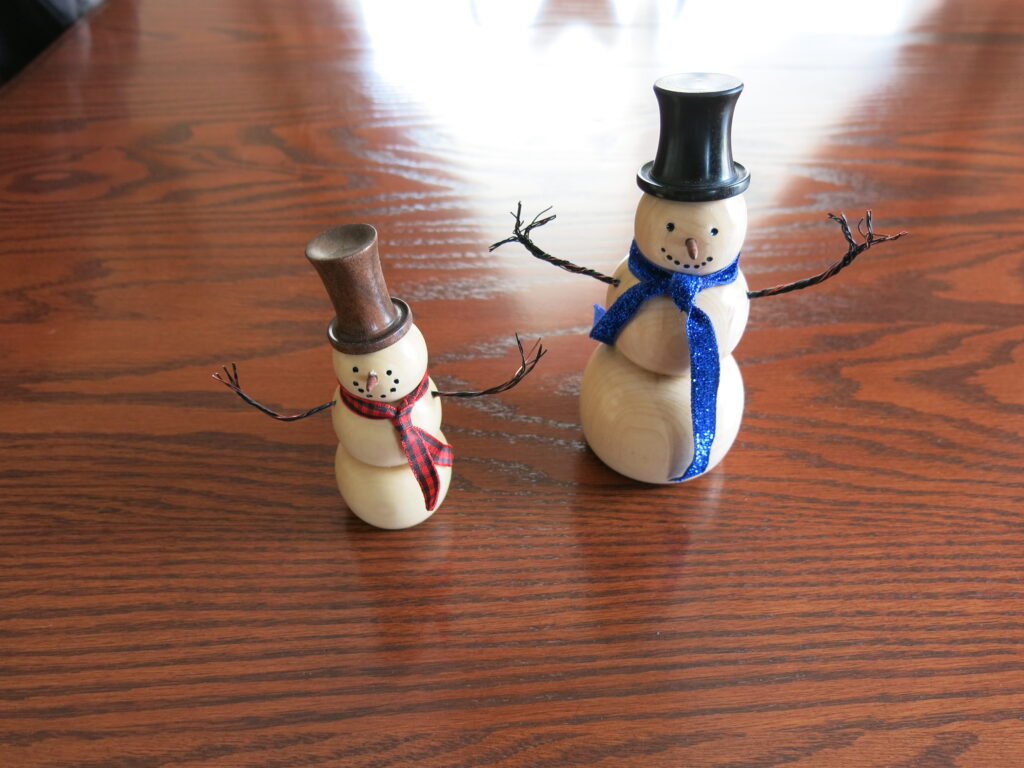
The arms are made from twisted black craft wire. I make a large three foot sections of wire with an even number of black and two or three strands of orange to add texture and variation. Craft wire comes in a bunch of different colors so you can make them look like trees or what ever suits you.
Then…a piece of 4inch PVC pipe cut in half and chunk of T-shirt provide stable working cradle to hold the little fat man while you drill out the eyes, mouth, nose, buttons and arm holes. I drill the arm holes at a downward angle and extra deep to give the wire something to grab onto. The nose hole needs to be at least an 1/8 inch deep to ensure you can get some glue in the wood. If you try to just glue it on, it’ll come off for sure. All this drilling is done with a dremel (gasp!) and a 1/8 inch or smaller drill bit for greater control. Use sharp bits or you’ll tear out your finished snowman. Magically, the reason is clear in the small one’s nose above, where he has some extra snot around his nose that I missed when I glued this up.
On the special snow peeps that I make from white birdseye or holly, I use plastic pin heads for the “coal”, otherwise I use enamel paint and a rubber brush to fill the hole. If you think you’re going to skimp out and not drill pockets for the paint, know that people (and kids, a subspecies of people with exceptionally dirty hands) will handle these and rub off your paint.
I use fast set clear epoxy to set everything. It’s required for the oily woods like ebony but works well for the plastic parts too. Put the glue in the arm holes and then slide the wire arms in. If you put the glue on the wire first, it won’t go in the hole and it will get everywhere. No reason why I know that, I just do.
When everything is dry, bend the wire for the arms in your favorite artistic perspective and clip off the excess. Spread the ends a bit to make the fingers. Since you remembered to undercut the bottom of the snowman, it will sit flat on a table which helps when you tie a bit of ribbon around the neckline and trim to fit like a scarf. The bottom is also a good place to use a Sharpie to sign your work or leave a little message and the date.
I make small ones for casual Christmas gifts and big ones for family and friends. If you use exotics, a little note about the species of wood used adds an extra touch.